Welcome! This guide simplifies adding tabs to your Bible. Perfect tab placement helps you quickly navigate scriptures. Using a placement guide ensures straight, aligned tabs. Let’s make your Bible study easier!
Embarking on the journey of Bible tab placement can seem daunting, but with the right guidance, it transforms into a rewarding experience. This introductory section demystifies the process, offering a clear understanding of what Bible tab placement entails. We’ll explore why using tabs is beneficial, turning your Bible into a user-friendly resource for study and reflection.
This guide emphasizes the importance of precision and planning before you even peel off the first tab. Proper alignment is key, ensuring that your tabs are not only functional but also aesthetically pleasing. Whether you’re a seasoned Bible scholar or just beginning your spiritual journey, mastering tab placement enhances your engagement with scripture. We’ll cover essential tips for selecting the right tab style, gathering necessary materials, and utilizing printable resources effectively.
Consider this your starting point for creating a well-organized and easily navigable Bible. Let’s begin!
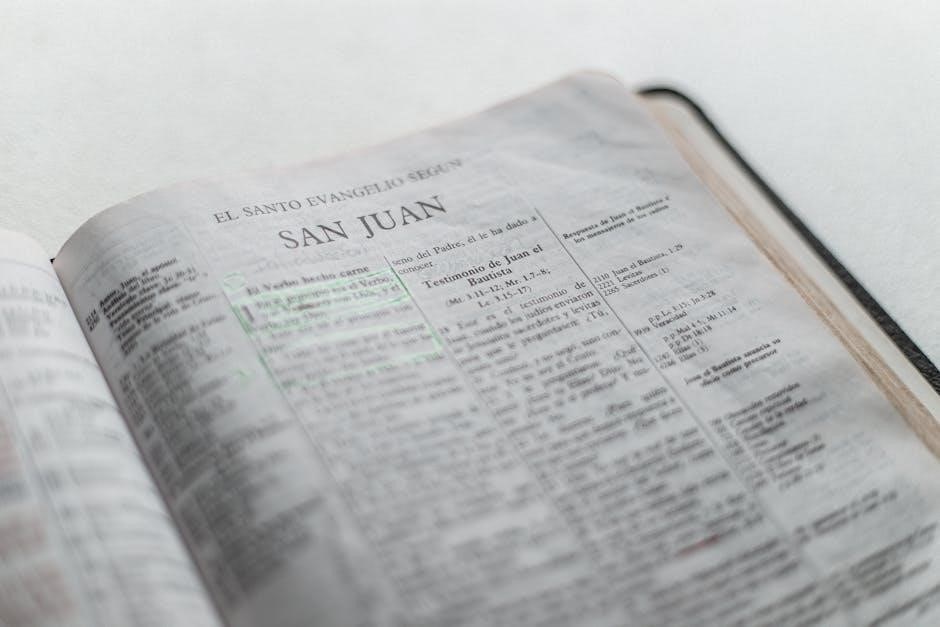
Benefits of Using Bible Tabs
Bible tabs offer numerous advantages for anyone seeking to deepen their understanding of scripture. The primary benefit is enhanced navigation; tabs allow you to quickly locate specific books, saving valuable time during study or worship. Instead of flipping through pages, you can go directly to the passage you need.
Organization is another key advantage. Tabs provide a visual structure to your Bible, making it easier to find references and follow along in group settings; This is particularly helpful during sermons, Bible studies, or personal devotion time. Furthermore, tabs can aid in memory retention. The act of placing and using tabs reinforces the order of the books.
Beyond practicality, tabs can also personalize your Bible, making it a more cherished and accessible tool for spiritual growth. A well-tabbed Bible encourages frequent use and deeper engagement with God’s word. Embrace the benefits of effortless navigation and structured study.

Bible Tab Placement Guide: Printable Resources
Types of Bible Tabs Available
When choosing Bible tabs, you’ll find a wide array of options to suit your preferences and needs. Pre-printed tabs are a popular choice, offering convenience with clear book names and durable materials. These often come in various colors and designs, allowing for personalization.
For a more customized approach, consider printable Bible tabs. These allow you to select your font, color scheme, and even add decorative elements. Printable tabs are ideal for DIY enthusiasts seeking a unique look. They require printing on sticker paper and careful application.
Another option is laminate tabs, known for their durability and resistance to wear and tear. These tabs are often waterproof and can withstand frequent use. Lastly, consider metal or decorative tabs for a touch of elegance and long-lasting quality. No matter your style, there’s a Bible tab to enhance your study.

Preparing for Tab Placement
Before you begin, collect your Bible, tabs, alignment ruler, and scissors. A pencil and eraser are helpful for marking. Ensure you have a clean, well-lit workspace for accurate placement.
Gathering Necessary Materials
To ensure a smooth and successful Bible tabbing experience, gathering the right materials is crucial. First and foremost, you will need your Bible, the very book you intend to adorn with helpful tabs. Next, acquire a set of Bible tabs, either pre-printed or blank ones ready for your customization. An alignment ruler is indispensable for achieving consistent tab placement and professional results.
Scissors or a craft knife will be needed to separate the tabs if they are on a sheet. A pencil is useful for lightly marking page positions, and an eraser will correct any stray marks. Consider using tweezers for handling smaller tabs with precision. Finally, ensure a clean, well-lit workspace to prevent errors and maintain focus throughout the process. Having these materials prepared will set you up for success in enhancing your Bible’s usability.
Printing Your Tab Placement Guide
Once you’ve decided to use a tab placement guide, printing it correctly is essential. First, locate a suitable template online, many of which are available for free. Ensure the template matches the size and layout of your Bible for accurate tab positioning. Download the guide and open it using a PDF viewer like Adobe Acrobat Reader. Before printing, check your printer settings. Select “Actual Size” or ensure that scaling is set to 100% to avoid distortions.
Print the guide on standard paper. After printing, verify the measurements against your Bible to confirm accuracy. If discrepancies exist, adjust your printer settings and reprint. A correctly printed guide acts as the foundation for precise tab placement, making your Bible study more efficient and organized. Now you are ready to move on to choosing the right tab style!
Choosing the Right Tab Style
Selecting the right tab style is crucial for both functionality and aesthetics. Consider several factors before deciding. First, think about the material. Paper tabs are economical but less durable, while laminated or plastic tabs offer greater longevity and resistance to wear and tear. Next, evaluate the design. Pre-printed tabs with book names are convenient, but DIY tabs allow for customization with colors, fonts, or symbols.
Size also matters; smaller tabs are less obtrusive, while larger tabs are easier to read and grip. Reflect on your personal preferences and Bible usage. If you frequently handle your Bible, invest in sturdy, visually appealing tabs. Ultimately, the best tab style complements your Bible and enhances your study experience. Your goal is to make your Bible a helpful tool.

Step-by-Step Tab Placement Instructions
An alignment ruler is essential for precise tab placement. Position the ruler on the page, aligning it with the guide. This ensures consistent spacing and a professional look.
Using an Alignment Ruler
An alignment ruler is your best friend when applying Bible tabs! It ensures uniform placement, preventing crooked or uneven tabs. First, print your chosen tab placement guide. Then, carefully peel a tab from its backing. Position the alignment ruler on the Bible page, matching it to the guide’s markings.
The ruler acts as a straight edge, guaranteeing precise positioning. Gently place the tab onto the page, using the ruler’s edge as a guide. Press firmly to secure the tab. Repeat this process for each tab, moving systematically through your Bible.
An alignment ruler will transform the look of your Bible! This method is especially helpful for beginners.
Applying the Tabs Correctly
Correctly applying Bible tabs ensures they stay put and look great. Begin by gently peeling a tab from its backing. Avoid touching the adhesive side as much as possible. Use an alignment ruler for precise placement, aligning the tab with the printed guide. Ensure the tab is straight before fully adhering it to the page.
Fold the tab over the page edge, pressing firmly to secure both sides. Use a bone folder or a similar tool to smooth out any air bubbles and ensure a strong bond. Take your time and work methodically.
Proper application prevents peeling and keeps your Bible organized!
Ensuring Proper Tab Adhesion
Proper tab adhesion is crucial for longevity. Before applying, ensure your fingers are clean to avoid transferring oils. Use a clean, dry cloth to wipe the page where the tab will be placed, removing dust or residue. Press firmly when applying the tab, using a bone folder to smooth out any bubbles.
For optimal adhesion, consider using acid-free glue dots or a thin layer of adhesive. Apply the tab carefully, aligning it with your placement guide. After application, let the glue dry completely, avoiding immediate page turning. Proper adhesion ensures tabs stay secure through frequent use.

Troubleshooting Common Issues
If tabs peel, reapply using a stronger adhesive like glue dots. Ensure the surface is clean before reapplying. Press firmly and avoid excessive page turning immediately after to help the tabs stay put.
Preventing Tabs from Peeling
One common frustration with Bible tabs is their tendency to peel off over time. Several factors can contribute to this issue, but thankfully, preventative measures can significantly extend the lifespan of your tabs. First, ensure the Bible page is clean and free of dust or oils before applying the tab. Use a soft cloth to gently wipe the area where the tab will be placed. The presence of oils, even from your fingers, can weaken the adhesive bond.
The type of adhesive used also plays a crucial role. If the tabs come with a weak adhesive, consider reinforcing them with a stronger alternative. Glue dots or acid-free adhesive tape can provide a more secure hold. Apply a small amount to the back of the tab before attaching it to the page. When applying the tab, press firmly and hold for a few seconds to allow the adhesive to bond properly. Avoid immediately flipping through the pages after application; give the adhesive some time to set.

Adjusting Tab Placement After Application
Even with careful planning, you might find the need to adjust a tab after it has already been applied. Perhaps it’s slightly crooked, or it’s positioned too high or low on the page. The good news is that minor adjustments are often possible, but it’s important to proceed with caution to avoid damaging your Bible pages or the tab itself.
If the adhesive hasn’t fully set, gently try to peel the tab back. Use a thin, flat tool, like a craft knife or a fingernail, to lift the edge of the tab. Work slowly and carefully to avoid tearing the page. If the adhesive is too strong, applying a small amount of heat with a hairdryer on a low setting can soften it. Once the tab is removed, clean any residue from the page using a gentle eraser or adhesive remover. Reposition the tab according to your guide, ensuring proper alignment before pressing it firmly into place.

Printable Resources and Templates
Discover free, printable Bible tabs online! Many websites offer downloadable templates. These resources save time and money. Simply print, cut, and apply for easy Bible navigation.
Finding Free Printable Bible Tabs
Locating complimentary, downloadable Bible tabs is easier than you think! Numerous websites and blogs offer free templates. These resources are perfect for personalizing your Bible without spending extra. Search terms like “free printable Bible tabs” or “DIY Bible tabs” will yield many options.
Many include various styles, from simple to decorative. Before printing, ensure the template suits your Bible’s size. Neutral watercolor patterns are also available. Check for templates that include both Old and New Testament books. Print on sticker paper for easy application.
These freebies offer a cost-effective way to enhance your Bible study and organization today!
Creating Your Own Custom Tabs

Designing personalized Bible tabs allows for unique expression and tailored functionality. Start by selecting a design program or even hand-drawing your templates. Consider the tab size and shape that best fit your Bible’s dimensions. Choose colors and fonts that resonate with your personal style.
Include abbreviations or symbols for each book to save space. Printable sticker paper is ideal for easy application. Don’t forget to add a protective layer to prevent wear and tear. Laminating the tabs can significantly extend their lifespan.
This DIY approach not only saves money but also creates a truly one-of-a-kind Bible!